
I first had the idea to write a “Making of the Halloween Maze”. But Halloween is over and Christmas is coming. I think it’s better to update the topic and to start a little tutorial series “How to make an X-Maze” (a playable labyrinth with a Christmas look). It’s supposed to show the creative side of Ionic: graphics, animations, audio.
The series at a glance:
Part 1: Make an Ionic 4 app project
Part 2: Make it look pretty
Part 3: Make it move nicely
Part 4: Make it sound x-massy
Every Advent Sunday there will be a new part of the tutorial.
For Christmas, I’ll give you the finished program code for download.
Today is the first Advent! So let’s start with our first part …
Part 1: Make an Ionic 4 app project
Preparations
Starting an Ionic project is not difficult once you have made all the necessary installations. If you are not so familiar with this topic, you’re in luck: check out the Look Inside for my new Ionic book on this website. In chapter 1.2 “Installations” you will learn how to do it.
Create the project
In console / terminal move to your dev folder of choice and type
$ ionic start x-maze blank
to create your Ionic project.
Choose Angular as the framework you want to use to develop your app.
After the Ionic CLI has created our project, we switch to its project folder and continue …
Create components
Our project will include a page called “Home” (which already exists). We’ll populate it with three components called “Arrow-Buttons”, “Decoration” and “Maze”, which we are now creating.
In terminal type the following commands:
$ ionic g component components/Arrow-Buttons
$ ionic g component components/Decoration
$ ionic g component components/Maze
In a subfolder “components” you’ll now find the new components.
Create a components module
In order to be able to embed our components in our app page in an elegant way, let’s quickly write down a component module called components.module.ts, which we put in our “components” subfolder:
import { NgModule } from '@angular/core';
import { CommonModule } from '@angular/common';
import { IonicModule } from '@ionic/angular';

import { ArrowButtonsComponent } from './arrow-buttons/arrow-buttons.component';
import { DecorationComponent } from './decoration/decoration.component';
import { MazeComponent } from './maze/maze.component';

const PAGES_COMPONENTS = [
  ArrowButtonsComponent,
  DecorationComponent,
  MazeComponent
]

@NgModule({
  declarations: [ PAGES_COMPONENTS ],
  imports: [ CommonModule, IonicModule ],
  exports: [ PAGES_COMPONENTS ]
})
export class ComponentsModule {}
Import the components module into page module
In home.module.ts we can now add:
import { ComponentsModule } from './../components/components.module';
and at the imports:
imports: [
  ...,
  ComponentsModule
],
...
Now we are able to import and use the components in the home page.
Build the UI structure of our app
Now we build the UI structure for our app using the components in home.page.html:
<ion-content>
  <div id="title"></div>
  <app-decoration></app-decoration>
  <app-maze></app-maze>
  <app-arrow-buttons></app-arrow-buttons>
</ion-content>
If we start our app with
$ ionic serve
and take a first look at what we’ve done so far, it looks like this:
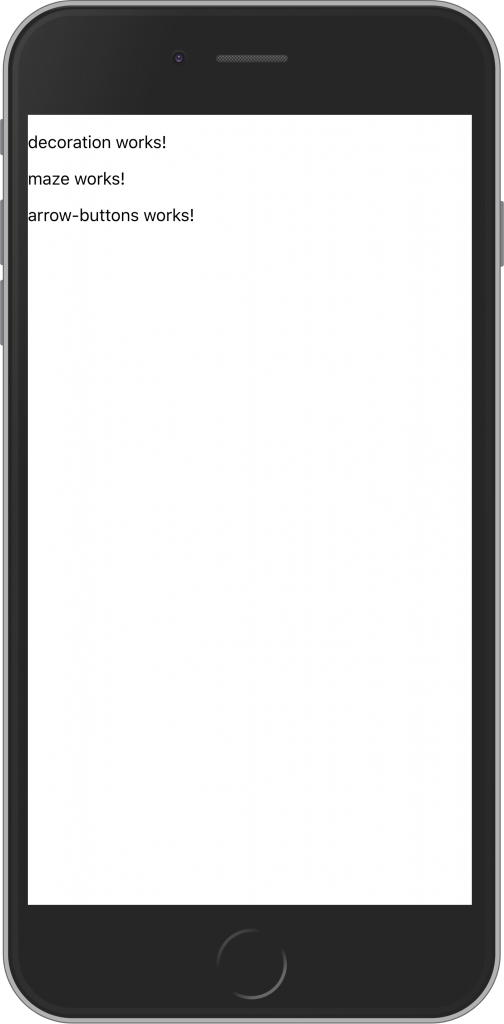
Of course, that doesn’t look that great yet. But the basic architecture of our app is done and and we’ll make it look pretty in the second part of our X-Maze tutorial.
CU next Sunday, December 8, 2019.
Until then:
Happy reading and coding!
Pingback: How to make an X-Maze with Ionic 4 (4/4) – Ionic Books
Pingback: How to make an X-Maze with Ionic 4 (3/4) – Ionic Books